If you want your home to look beautiful for a long time, then you must install the natural stone cladding appropriately. The key is to follow the right steps and be safe while installing. So, if you want to install stone wall cladding in your home, you are in the right place.
Here is your complete installation guide.
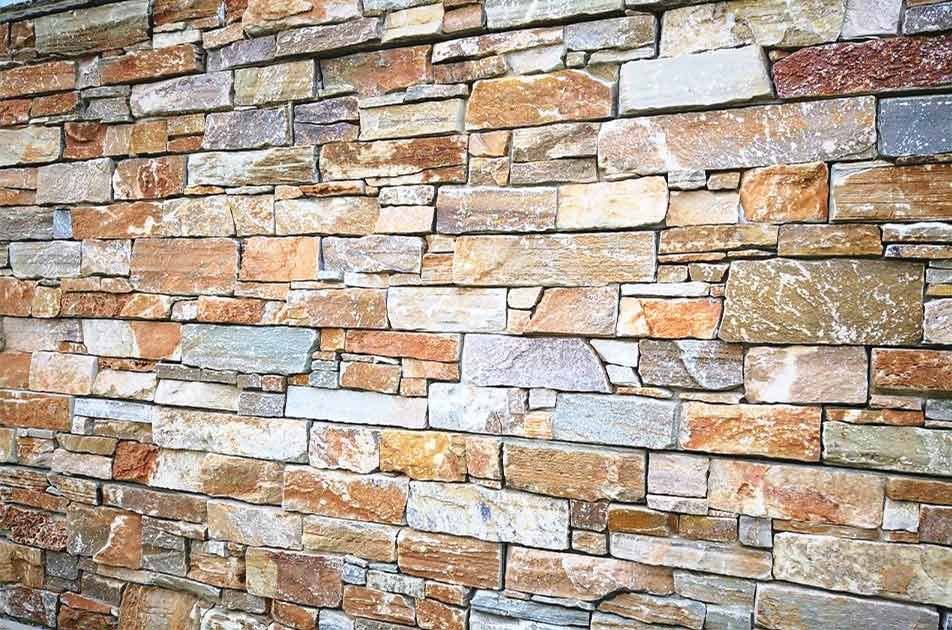
1. Prepare The Surface
The first thing you need to do is prepare the surface on which you will apply the stacked stone cladding. Here are the steps you must follow for surface preparation:
- Lay out the stones on the drywall to understand the pattern you want and outline it using a pencil or marker
- You need to apply multiple layers of water-resistant barriers from bottom to top. I.e. Two layers would be ideal.
- Horizontally apply the metal lath (corrosion-resistant) by making use of galvanized fasteners.
- You must get through to the studs by one inch.
- You have to hit every stud every six inches on the vertical center.
- Install the latch with an overlap of a minimum of one inch.
- Make sure the surface is a little rough so when you are applying the mortar scratch coat, the rough surface will help to hold the mortar in place.
- You should also apply a store-bought adhesive to the wall using a trowel.
Once you follow all these steps, your surface will be ready for the application of natural stone cladding panels. So, you must move on to the next step.
2. Install the Natural Stone Cladding
The next thing you need to do after preparing the surface is to install the natural stone wall cladding. You can multiply the width and height of the specific area you need to cover. Be sure to subtract the openings, like windows and doors.
Once you do, you will have the complete surface area you will need the natural and manufactured stone wall cladding for. Here are the installation steps you need to follow:
- While measuring cornerstones, you need to measure the exact linear meterage of external corners, including windows and doors with corners
- You will need one bag of mortar per square meter of the stone
- If you want to know the additional bags of stone you will need, you can multiply the respective corner’s linear meterage by 0.3.
- Before installation, you must also cut the stones to the right size. You can do this by using your measurements and an angle grinder to cut the piece.
- Then, apply stones one-by-one to the outlines in the same pattern
- After attaching the stones, let them dry.
You may also follow this DIY process for less hassle:
- Drill a hole in the different stones for secure placement
- Attach the stone to metal framing or steel brackets
- Apply the fixed natural stone wall cladding panel to the wall for a thicker appearance and safer experience
3. Grout the Joints
Once you are done applying the stone to the surface, it is time to get a grout bag and fill it with some mortar. You need to ensure to cover any broken edges with the mortar. After it is dry, you can use a tool to force the mortar in any gaps to seal it.
Then, use a tuck pointer to clean the edges. Doing this will prevent any pests or water from entering the area. Finally, you must clean the wall, and you are good to go.
Derniers mots
That was a complete step-by-step guide on how you can install ledgestone cladding in your home. You don’t need a professional as you can do it by yourself too. However, be sure to follow the guidelines and consult a professional before you start so you have all the knowledge you need to do a great job.
