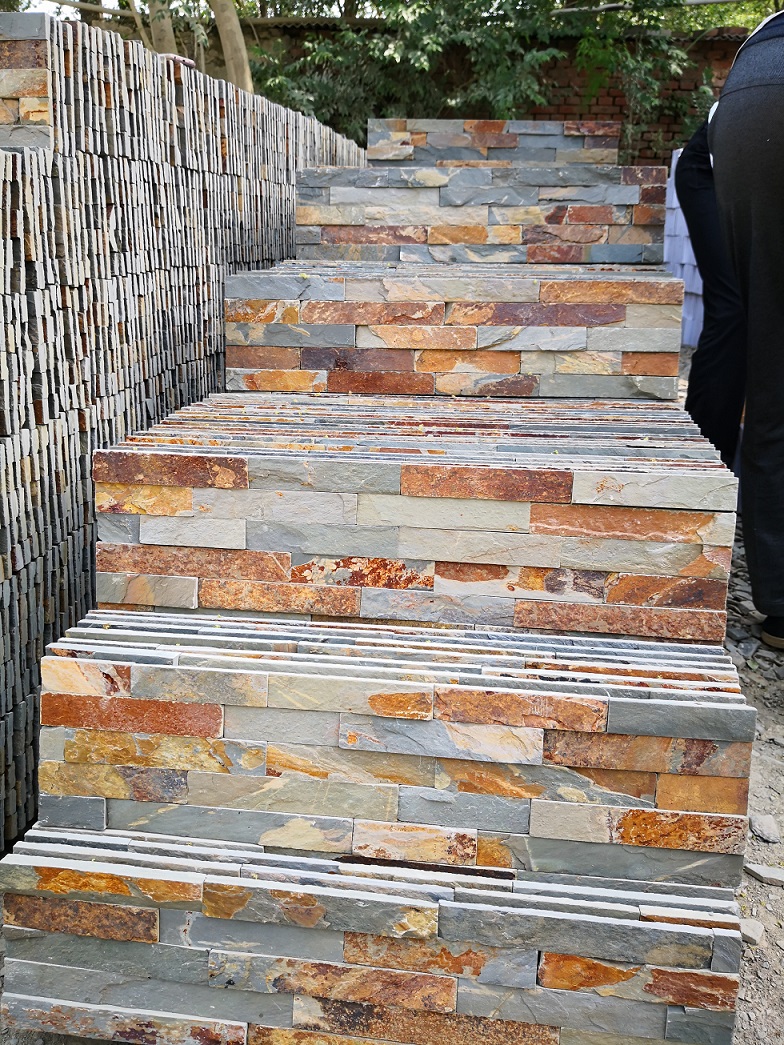
Grouting transforms a collection of individual stones into a unified, weather-resistant wall that lasts for decades. Without proper grouting, moisture infiltrates behind stones, causing damage to both the veneer and substrate. The right technique also defines your wall’s final appearance—from clean modern lines to rustic old-world charm.
This step-by-step guide breaks down the grouting process into manageable tasks. You’ll learn the key techniques, essential tools, application methods, and cleanup tips. By following these steps, you’ll achieve professional results while avoiding common mistakes that can ruin your stone installation.
Prerequisites: Tools & Materials Needed
Before you start, gather all necessary equipment. Having everything ready ensures a smooth installation process and professional results.
- Sanded Grout or Type S Mortar: Use the product specified by your stone manufacturer.
- Grout Bag: A masonry bag with a 1/2 inch tip allows for precise application.
- Pointing or Jointing Tool: For shaping and compacting grout joints.
- Mixing Bucket and Stirrer: To mix your grout to the perfect consistency.
- Damp Sponge & Soft-Bristle Brush: For cleaning stone faces before grout sets.
- Protective Gear: Protective gloves and safety glasses are essential.
- Drop Cloths or Masking Tape: To protect surrounding areas from grout smears.
Step 1: Prepare the Stacked Stone Surface
Before you mix any grout, ensure your foundation is solid. Check that every stone is securely fastened to a proper substrate, like cement board or a scratch coat. If any stones feel loose, fix them now—grout cannot compensate for poor installation.
Next, use a brush to clean out the joints thoroughly. Dust, debris, and loose material will weaken the bond between the grout and stone. Finally, protect the stone faces by laying down drop cloths or taping off surrounding areas. Preventing grout smears is far easier than removing them later.
Step 2: Mix Grout to Proper Consistency
Getting your grout mix right is key to a smooth application and long-lasting results. You are aiming for a consistency like creamy peanut butter or toothpaste—it should hold its shape when squeezed from a grout bag but still be soft enough to work into joints.
Check the bag for the water-to-powder ratio and follow it closely. Mix thoroughly for the time specified, usually a few minutes, to eliminate any lumps. Once mixed, let the grout rest or “slake” for about 5-10 minutes. This allows the mix to fully hydrate. Give it one final, quick stir before you begin.
Step 3: Apply Grout Using a Grout Bag
This is where precision pays off. Fill your grout bag with the prepared grout. Squeeze the bag firmly and guide the grout directly into each joint, aiming for complete coverage with no air pockets. For a standard joint, fill it flush with the stone surface. For an over-grout technique, apply extra mortar onto stone edges for a rustic appearance.
Here’s a crucial tip: always work from top to bottom. Grout drips, and this simple rule lets gravity work in your favor, preventing you from cleaning drips off the sections you just finished. Keep the bag moving smoothly and avoid smearing mortar onto the stone faces.

Step 4: Tool and Clean Joints
Once the grout has firmed up a bit—usually within 15 to 30 minutes—it’s time to shape the joints. Use a pointing or jointing tool to compact and shape each joint to a consistent depth and profile. This step not only improves the appearance but also compresses the grout, making it more durable and water-resistant.
Before the grout hardens completely, grab a damp sponge and gently wipe the stone faces to remove any residue. Work in circular motions and rinse your sponge frequently in clean water to avoid smearing haze back onto the stones. Let the grout cure fully according to the manufacturer’s instructions before sealing.
Projects with Authentic Ledger Stone
Explore a range of natural stone panels that combine timeless beauty, versatile design, and efficient installation. Perfect for distributors, contractors, and designers aiming to deliver lasting quality and unique style to every project.

Grout Types and Color Selection
Choosing the right grout makes all the difference. Sanded grout is best for ułożony kamień as it handles wider joints (over 1/8 inch) and is more durable. Color selection shapes the project’s aesthetic: matching colors create a seamless look, while contrasting colors add drama and definition. Always follow your stone manufacturer’s recommendations, as they account for:
- Absorption rates of the stone
- Expected expansion and contraction
- Staining resistance
Common Mistakes and Troubleshooting
Even experienced installers can run into challenges when grouting stacked stone. Knowing what to watch for can save you time and frustration. Here’s how to avoid the most common pitfalls and keep your project on track.
| Common Mistake | How to Avoid or Fix |
|---|---|
| Applying grout too wet | Mix your grout to a thick, paste-like consistency. If it’s runny, it’ll shrink and crack as it dries. Add water gradually and test the mixture—it should hold its shape when squeezed from the grout bag. |
| Grout smears on stone faces | Work carefully and wipe down stone faces with a damp sponge as you go. Once grout hardens on the stone, it’s much harder to remove. Keep a bucket of clean water nearby and rinse your sponge frequently. |
| Inadequate grout filling leaving voids | Use a grout bag to fill joints completely, checking for gaps as you work. Press the grout firmly into each joint and make sure you’re not leaving air pockets behind. A thorough inspection before the grout sets can prevent weak spots. |
| Cleaning grout too early or too late | Wait until the grout is firm enough to hold its shape before tooling the joints. If you clean too soon, you’ll pull grout out of the joints. If you wait too long, it’ll harden and become difficult to remove from the stone. |
| Not sealing grout after curing | Apply a high-quality stone and grout sealer once the grout has fully cured. Sealing protects against stains, moisture damage, and discoloration. It’s a simple step that extends the life of your installation and keeps it looking sharp. |
Maintenance and Sealing After Grouting
After the grout has fully cured (typically 24-72 hours), apply a quality penetrating sealer. This is your best defense against stains, moisture damage, and discoloration. For daily maintenance, use a soft, damp cloth with plain water or a pH-neutral stone cleaner—never acidic or abrasive products.
Frequently Asked Questions About Grouting Stacked Stone
Does all stacked stone require grout?
Not all stacked stone needs grout. Dry-stack installations create a tight, modern look without visible joints, while traditional grouted styles use mortar between stones for a classic appearance and added weather protection.
What is a grout bag and why use it?
A grout bag works like a pastry bag, letting you squeeze grout precisely into joints without smearing the stone faces. It gives you clean control and saves time on cleanup compared to troweling.
How long should I wait before cleaning grout from stone faces?
Wait until the grout sets slightly but isn’t fully hard—usually 15 to 30 minutes depending on temperature and humidity. You want it firm enough to hold shape but soft enough to wipe away easily with a damp sponge.
How do I remove grout haze effectively?
Use a damp sponge with clean water, rinsing frequently, and wipe in circular motions. For stubborn haze, a diluted grout haze remover designed for natural stone works well without damaging the surface.
Should I seal grout and stone after installation?
Yes, sealing protects against stains, moisture, and wear, especially on natural stone. Wait until the grout fully cures (typically 48 to 72 hours), then apply a quality sealer per manufacturer instructions.
Wrapping Up Your Stacked Stone Project
Proper grouting requires attention to detail, from preparing the surface to the final sealing. By following these steps, you are equipped to create a beautiful, durable, and professional stacked stone installation. Trust the process, take your time, and the results will speak for themselves.


