

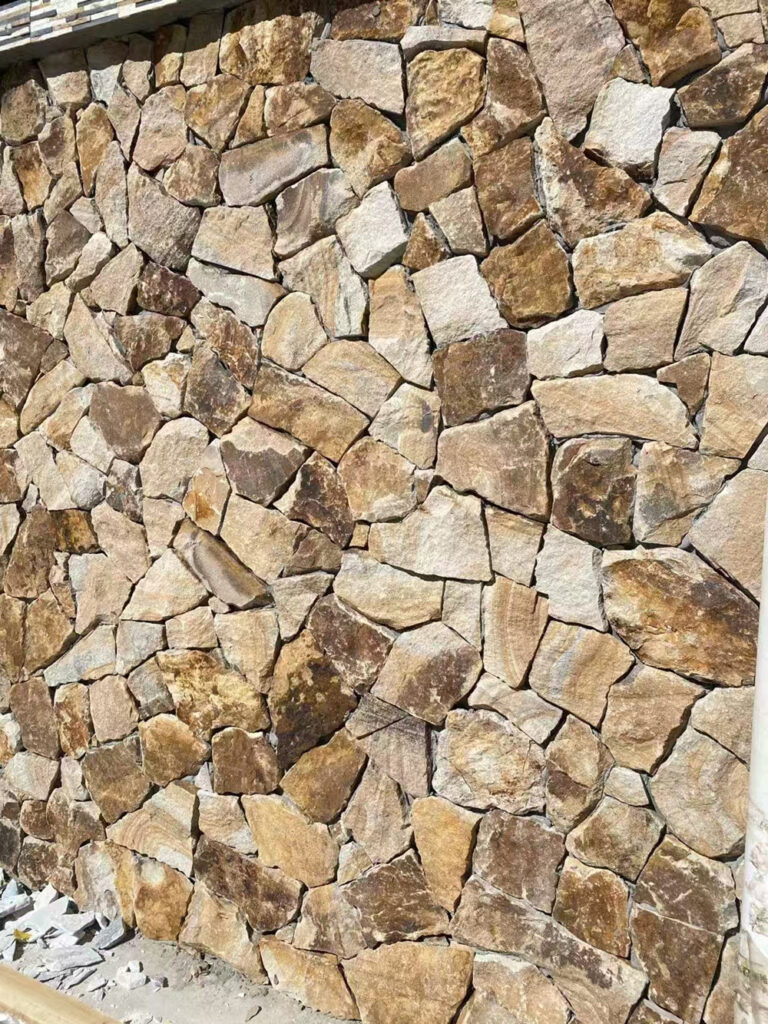
Selecting the right grouting styles for thin stone veneer influences more than just the visual appeal; it directly impacts the installation longevity and the total labor hours required on the job site. Improper joint finishing can lead to moisture infiltration or premature cracking, creating significant rework costs and damage to the contractor’s professional reputation. For large-scale masonry projects, the choice between a flush, raked, or overgrout finish determines the technical approach your crew must take to ensure a durable and weather-resistant facade.
This guide establishes a technical standard for executing three primary joint styles while comparing the efficiency of grout bags against traditional pointing trowels. We provide step-by-step procedures for achieving a recessed raked joint, methods for applying a smeared European overgrout finish, and precise timing for brushing joints to ensure a clean, stable bond. By following these onsite protocols, stone masons can maintain consistency across the entire elevation and meet specific architectural requirements for both modern and rustic designs.
The Aesthetic Impact of Mortar Joint Styles
Mortar joints function as the architectural frame for masonry, where the specific depth and color of the joint determine how light interacts with the stone texture to define the project’s final character.
Defining Architectural Texture through Shadow and Depth
The profile of a mortar joint dictates the visual depth of a stone wall. Recessed or raked joints pull the mortar back from the stone face, creating deep shadow lines that emphasize the rugged, three-dimensional texture of “The Rough Series” loose stones. This approach highlights the individual geometry of each stone, making the installation look more structural and heavy.
In contrast, flush joints minimize shadows by bringing the mortar to the same plane as the stone surface. This creates a unified, monolithic appearance often preferred in modern minimalist applications where a smooth, continuous wall surface is the goal. For more formal designs, beaded or weathered joints add precise, horizontal lines that provide a sharp contrast to the natural variance of quarry-cut stones.
Color Coordination and Visual Scale
Mortar color choice fundamentally alters the perceived scale of the masonry. Using a high-contrast grout color emphasizes linear stone patterns, drawing the eye to the intricate masonry lines and showcasing the craftsmanship of the hand-laid installation. Conversely, monochromatic matching between the stone and mortar hides the joint lines, making small spaces feel larger and more expansive by creating a singular color field.
- Contrast colors highlight individual stone shapes and bonding patterns.
- Monochromatic joints create a seamless, contemporary visual flow.
- Natural pigments ensure UV stability and prevent the fading seen in synthetic alternatives.
Historical vs. Contemporary Aesthetic Profiles
Designers use joint styling to bridge the gap between traditional masonry and minimalist trends. Overgrout or smeared techniques evoke European “Old World” charm by softening the edges of natural marble or slate, making a new installation look centuries old. For industrial or minimalist themes, clean and sharp raked joints support a modern, refined architectural look.
By varying the joint thickness, installers can replicate the look of historic dry-stack masonry—where stones appear to be stacked without mortar—while still maintaining the structural integrity and weather resistance provided by a full, professionally tool-compacted mortar bed.
How to Achieve a Standard Raked (Recessed) Joint
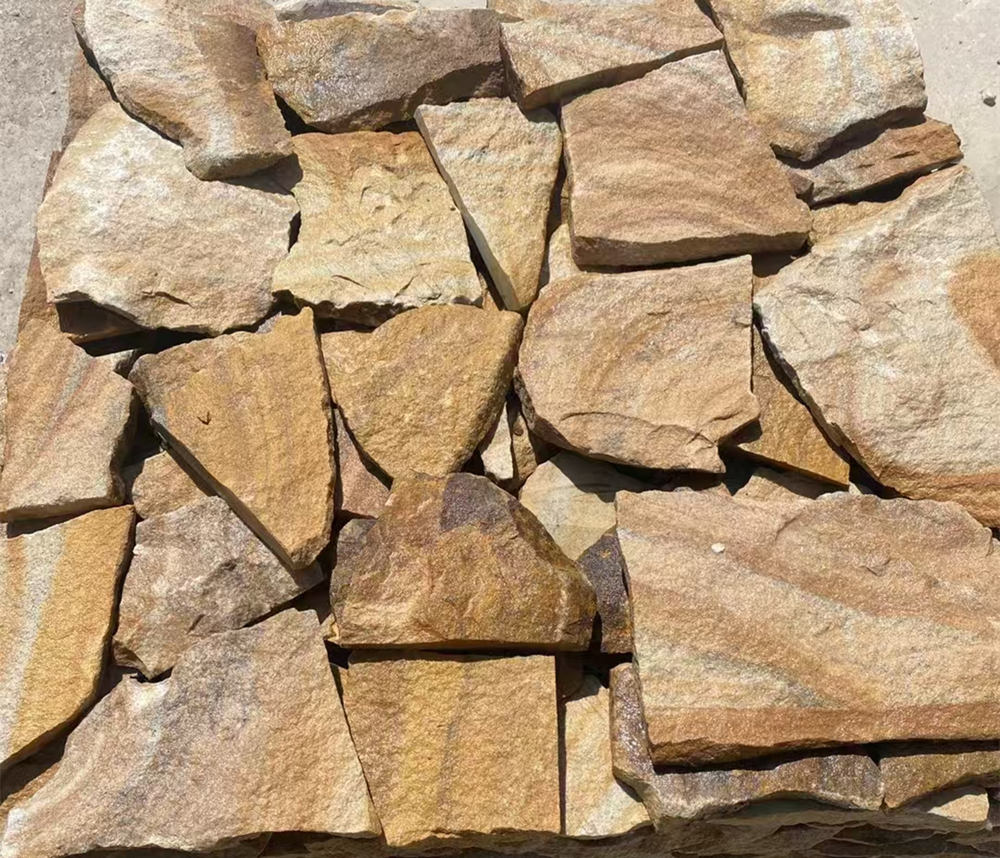
A raked joint creates a crisp, architectural shadow line that emphasizes the individual contours of Top Source Stone’s individually sawn-back loose stone veneer.
Standard raked joints transition thin stone veneer from a traditional masonry look to a modern, high-relief aesthetic. Unlike flush joints, the raking process removes a specific depth of mortar to expose more of the stone’s edge. Professional installers now treat this depth as a controlled variable, moving away from site-by-site craft decisions and toward standardized technical specifications that ensure visual depth across large commercial façades.
Precise Depth Control and Raking Tools
Contractors utilize depth-adjustable raking tools or skate wheeler jointers to strip mortar to a pre-determined measurement. Maintaining a consistent depth—typically between 1/4 inch and 1/2 inch—prevents erratic shadow patterns that can disrupt the visual flow of natural stone. This precision is vital for materials like premium quartzite or ledgestone, where the play of light on the stone’s natural surface defines the final character of the wall.
| Joint Style | Standard Depth (Recess) | Visual Impact |
|---|---|---|
| Standard Raked | 1/4″ (6mm) | Refined, subtle shadow lines |
| Deep Raked | 1/2″ (12mm) | Bold, high-contrast structural relief |
| Overgrout | Flush to Proud (0mm) | Rustic, Old-World artisan smear |
Mortar Consistency and Timing
The success of a raked joint depends on the mortar’s moisture content at the moment of raking. We recommend raking only when the mortar is “thumb-print hard.” If the mix is too wet, it will smear and stain the 100% natural stone face; if too dry, the mortar will crumble, leading to poor compaction. Using pre-formulated Type S or veneer pointing mortars ensures that batches maintain identical workability and color consistency across massive feature walls.
Dust Management and Surface Protection
Maintaining cleanliness is a priority when working with high-texture materials like slate or quartzite. Modern masonry teams often integrate dust-extraction systems with power raking tools to prevent fine particles from settling into the deep, organic textures of the stone. After the initial rake, workers should perform a final pass with a soft, dry brush to remove loose debris without polishing the mortar, keeping the joint looking natural and matte.
Weathering Consideration and Sealing
Raked joints create horizontal ledges that can trap water, making proper compaction essential. During the raking process, the installer must firmly press the mortar into the joint to minimize porosity and prevent water ingress behind the stone veneer. Once the joints have fully cured, applying a high-quality breathable stone sealer protects the entire assembly from UV fading and moisture penetration, ensuring climate-tested durability for exterior applications.
Premium Loose Stone Veneer for Architectural Projects

The European Look: Applying an Overgrout (Smeared) Finish
An overgrout finish transforms thin stone veneer by intentionally spilling mortar onto the stone face, replicating centuries-old masonry found in European rural architecture.
Characteristics of the Smeared Grout Aesthetic
The smeared or overgrout finish prioritizes a rustic, “Old World” appearance over the clean lines of modern masonry. By allowing mortar to bridge the gap between individual stones and partially obscure their edges, you soften the visual transition and create a sense of weathered permanence. This technique is particularly effective for large-scale facades or interior fireplaces where a farmhouse or historic Mediterranean aesthetic is required.
| Feature | Standard Raked Joint | Overgrout (Smeared) Finish |
|---|---|---|
| Visual Depth | Deep shadows; stones pop forward | Flattened profile; stones blend together |
| Edge Definition | Sharp, distinct stone boundaries | Softened, blurred stone edges |
| Labor Technique | Precise raking and edge cleaning | Heavy filling and face-smearing |
Application Techniques for Mortar Overspread
Achieving a professional smear requires adjusting your mortar consistency to a “thick pancake batter” state—slightly wetter than what you would use for a recessed joint. Use a grout bag to overfill the joints until the mortar sits proud of the stone surface. Instead of striking the joint back, use a trowel or a gloved hand to spread the excess material across the stone face, blending the mortar into the natural texture of the stone.
Stone Selection for the German Smear Look
Natural stone units with deep textures, such as quarry-cut loose random series or irregular fieldstones, are the best candidates for this style. High-density quartzite and sandstone provide the necessary mineral integrity to bond with the smeared mortar without premature surface drying. Pair neutral stones like white marble or limestone with lighter mortar pigments to achieve a classic Mediterranean or “German Smear” aesthetic that highlights the stone’s organic shape while neutralizing harsh color shifts.
Maintenance and Sealing for Overgrouted Walls
With a larger surface area of mortar exposed, protection against moisture penetration is vital. We recommend applying a high-quality natural stone sealer across the entire installation once the mortar has fully cured to prevent efflorescence and staining. Regularly inspect the smeared areas for hairline cracks, which are more common in thicker mortar applications, and use pH-neutral cleaners to maintain the finish without degrading the cementitious bond or the stone’s mineral face.
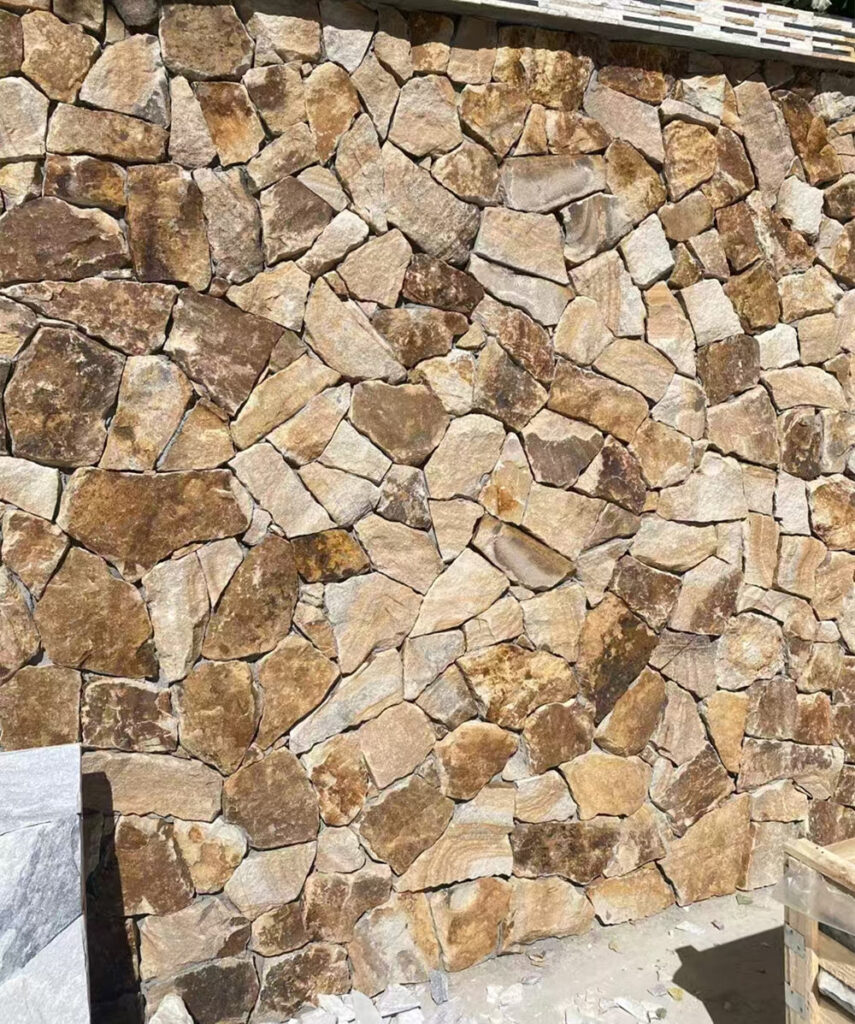
Using a Grout Bag vs a Pointing Trowel
Effective mortar application for thin stone veneer depends on balancing hydraulic flow for deep joint saturation with manual compaction for structural bond integrity.
The Grout Bag: Precision for Deep-Set Textures
Grout bags operate on the principle of volumetric injection, allowing installers to deliver mortar deep into the recesses of irregular stone joints. For natural loose stone like Top Source Stone’s high-density quartzite, the bag is indispensable for filling deep clefts without contaminating the natural face of the stone. By directing a controlled stream of mortar into the back of the joint and filling outward, the risk of trapped air pockets—which can compromise freeze-thaw resistance—is significantly reduced.
| Feature/Metric | Grout Bag Method | Pointing Trowel Method |
|---|---|---|
| Mortar Consistency | Wetter (“Thick Peanut Butter”) | Stiff (“Peanut Butter / Packable”) |
| Best Use Case | High-volume, deep irregular joints | Tight joint tolerances, precision finishing |
| Cleanup Requirement | Minimal; keeps faces clean | High; prone to surface smearing |
Success with a grout bag requires a specific mix ratio. We recommend a “slaked” Type S mortar, typically 2 parts sand to 1 part mix, adjusted until it flows under pressure but holds its ridge once placed. This method is particularly vital for delicate materials like premium marble or slate, where accidental surface smears can cause permanent staining if not caught immediately.
The Pointing Trowel: Traditional Control and Compaction
While the grout bag excels at speed, the pointing trowel remains the standard for manual compaction. Masonry professionals use the thin blade to pack a stiff mortar mix firmly against the stone edges. This pressure ensures a mechanical bond that “locks” the stone into the assembly. For precision-cut flat stones with tight tolerances, the trowel allows for a level of tactile feedback that a bag simply cannot provide, ensuring no voids remain behind the stone’s precision-sawn back.
- Enables crisp “striking” or “raking” once the mortar reaches thumbprint hardness.
- Directly compacts mortar to eliminate pathways for micro moisture ingress.
- Ideally suited for detailed repairs or intricate adjustments around L-shaped masonry wraps.
Speed vs. Detail: Choosing the Right Tool for the Project
Labor efficiency shifts heavily toward the grout bag for large-scale commercial facades and residential feature walls. A bag can reduce installation hours by up to 40% on high-relief loose stone projects compared to traditional hand-pointing. However, the most durable installations frequently utilize a hybrid workflow: use the grout bag for the rapid bulk fill, then follow with a pointing trowel to tool and compact the joints to ensure a weather-tight seal.
When working with Top Source Stone’s bespoke random-lay patterns, the scale of the stone pieces dictates the tool choice. Larger fieldstone veneer profiles often require the tactile control of a pointing trowel to manage varying joint widths, whereas smaller architectural shapes benefit from the rapid delivery of a bag. Regardless of the tool, the technical goal remains full-depth visual integrity and a compacted joint that sheds water away from the substrate.
Brushing the Joints for a Clean, Professional Finish
Effective brushing transforms raw mortar into a finished architectural element by controlling texture and ensuring the natural mineral face of the stone remains free of cement film.
Brushing acts as the final bridge between the structural application of mortar and the aesthetic realization of the project. This stage requires a mechanical understanding of how mortar cures; rushing the process leads to permanent staining, while delay results in brittle, unworkable joints. For professional-grade results on loose stone veneer, such as our individually sawn-back quartzite or sandstone, the goal is to remove excess material while compacting the joint to prevent water ingress.
Timing the Initial Brush-Down
Precision in timing prevents the displacement of individual stones. Usually, 30 to 60 minutes after application—depending on local humidity and temperature—the mortar reaches a “thumbprint” hardness. At this stage, the material is firm enough to hold its shape but remains carvable. Brushing too early smears wet cement into the natural pores of the stone, often requiring harsh cleaning later that can damage the mineral structure of delicate slates or marbles.
- Monitor the mortar until it is firm but carvable to ensure clean separation from the stone edge.
- Avoid lateral pressure during brushing until the setting bed has fully anchored the stone.
- Test small sections frequently to identify the ideal window for the specific mortar mix used.
Selecting Specialized Tooling for Natural Stone
Natural stone textures, especially high-relief fieldstones, require specific brush stiffness to clean deep crevices without eroding the joint. A medium-stiff nylon or horsehair brush is standard for sweeping away debris while smoothing the profile. For recessed joints in rugged series, narrow margin tools or small pointing trowels allow the installer to reach into deep cavities that a standard brush might miss.
- Use dry brushes only; moisture on the bristles during the final pass often causes efflorescence or color blotching.
- Utilize narrow margin tools for precision in tight, irregular gaps common in bespoke random-lay patterns.
- Replace brushes regularly to maintain the stiffness required for effective “knocking down” of mortar high spots.
Achieving Texture Consistency and Line Definition
The final brushing technique defines the visual flow of the wall. Consistency is paramount. Brushing in a uniform direction creates a cohesive finish that complements the stone’s grain. Special attention must be paid to our L-shaped corner pieces; brushing these joints incorrectly can break the “massive” look of the corner, revealing the veneer’s thickness rather than mimicking a full-depth structural block.
- Brush in a consistent direction to ensure uniform light reflection across the facade.
- Clear all debris from corner transitions to maintain the authentic masonry wrap aesthetic.
- Work each joint individually to remove tool marks and soften the transition between stone and mortar.
Final Surface Cleanup and Haze Removal
The removal of residual dust and mortar film is a non-negotiable step before applying modern stone sealants. Loose particles trap moisture and interfere with the chemical bonding of sealers. Perform the final inspection under lighting that replicates the project’s permanent environment—whether that is harsh midday sun or focused interior LEDs—to ensure no mortar “crumbs” or shadows remain to disrupt the zero-repeat natural variation of the stone.
- Avoid wire brushes, as they can leave metal deposits that rust or scratch the stone surface.
- Use a soft, clean brush for the final pass to ensure a dust-free surface for sealer adhesion.
- Inspect the wall at an angle to identify and remove any lingering cement haze before it fully cures.
Conclusion
Mastering different grouting techniques allows masons to define the architectural character of a project, whether achieving a modern recessed look or a traditional European smeared finish. Precise mortar application combined with individually sawn-back stones ensures long-term structural bonding and high-density durability against harsh weather cycles. These finishing details ultimately preserve the authentic masonry appearance that differentiates natural stone from manufactured alternatives.
Review your current project requirements and select the joint style that best complements your stone choice. For bulk sourcing or to request technical specifications for our thin stone veneer collections, visit topsourcestone.com to connect with our team.
Frequently Asked Questions
What is an overgrout finish on stone veneer?
An overgrout finish, often referred to as a ‘Sack’ or ‘Tuscan’ joint, is a technique where mortar is applied liberally to cover the edges of the stone veneer, making the joints appear wider and slightly overlapping the stone face. This style creates an Old World, rustic aesthetic that minimizes the visibility of individual stone edges and emphasizes a hand-hewn, historic appearance.
How to use a grout bag for thin stone veneer?
To use a grout bag, fill it approximately half-full with a flowable mortar mixed to a ‘thick peanut butter’ consistency. Twist the top of the bag to create hydraulic pressure and place the metal tip directly into the joint. Squeeze the bag from the top down to force mortar into the gaps, ensuring the joint fills from back to front to completely prevent structural air pockets.
How deep should mortar joints be on stone veneer?
Standard mortar joints for stone veneer installations typically feature a width of 1/2 inch to 3/4 inch. For a standard ‘raked’ profile, the joint depth is cleanly recessed 1/4 inch (6mm) to 1/2 inch (12mm) from the stone face to project architectural shadows, while ‘flush’ or ‘overgrout’ finishes bring the mortar even with or slightly proud of the stone surface.
Can you change the mortar color for stone veneer?
Yes, mortar color is a primary aesthetic tool used to coordinate with stone size and bond patterns. You can change the color by using pre-colored masonry cements or by adding liquid or powdered iron-oxide pigments to a standard mortar mix. This allows designers to fine-tune the visual depth and overall architectural expression of the façade.
When should you brush stone veneer joints?
Joints should be brushed once the mortar has become ‘thumb-print hard,’ meaning it is firm to the touch but still pliable. Brushing too early will smear wet mortar onto the stone face, causing permanent staining, while brushing too late will make it impossible to properly texture the joint or remove excess material.
