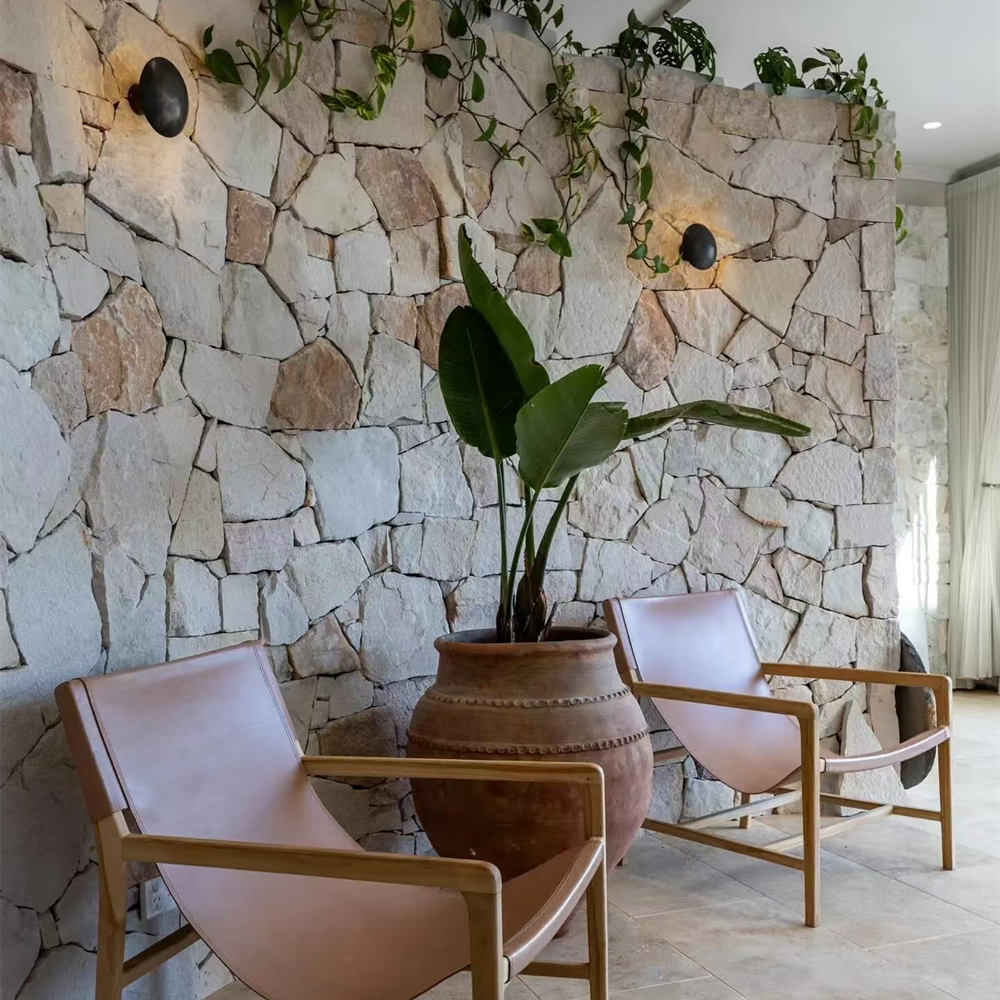
If you’re a GC managing a stacked stone ledger panel installation, you already know that callbacks from uneven mortar or visible repeating patterns eat into your bottom line. Most manufacturers’ installation guides skip the crucial detail of offsetting vertical seams by at least six inches, but that’s exactly what architects look for during a punch walk. The difference between a project that passes inspection and one that generates a rework order often comes down to a few overlooked specifications — not the crew’s skill.
Our factory tests show that a back-buttering technique with a 1/4-inch skim coat delivers 95% bond coverage versus 60% from wall-only mortar application. That means fewer delamination risks in high-traffic or exterior installations. Understanding these details upfront — the trowel size, seam offset, and cure schedule — separates a smooth install from an avoidable callback. Here’s the sequence your crew needs to get it right the first time.
- Core Technique: Always back-butter each stone ledger panel using a 1/2″ square-notched trowel over an engineered flat substrate.
- The 6-Inch Rule: Stagger all vertical joints by a minimum of 6 inches between adjacent courses to prevent artificial repeat lines that architects reject.
- Material Standard: Enforce ANSI A118.15 modified thin-set for interior accents and ASTM C1670 rated polymers for all exterior applications. Never use generic Type N mortar.
Get Tools & Material List
Before your crew breaks out the equipment, you need a tight material list that keeps them on the wall instead of running to the local supply house. Sourcing pre-assembled panelized systems cuts installation labor by 40% compared to laying individual hand-picked stone pieces—translating to roughly 30 crew-days saved on a typical 2,000 sq ft commercial facade based on our factory time trials.
Quick Math for Your Bid Sheet:
- Mortar Yield Matrix: Standard budget requires 1 bag (50 lb) of premium thin-set per 40–50 sq. ft. utilizing a 1/2″ square notch layout.
- Waste Allowance: Apply a strict 10% waste factor. Field cuts, perimeter trim, and transit breakage will quickly eat into your net yield.
- Panel Coverage Target: Each nominal 1-sq-ft panel nets roughly 0.95 sq. ft. of active wall coverage after interlocking. Estimate total crate volumes accordingly.
- Required On-Site Hardware: 1/2″ x 1/2″ square-notched trowels, wet tile saws with continuous-rim diamond blades, mixing paddles, rubber mallets, 4-ft levels, stone chisels, grout bags, and 1/16″ structural shims.
| Item | Specification | Coverage/Quantity | Function | Pro Tip |
|---|---|---|---|---|
| Notched Trowel | 1/2″ x 1/2″ square-notch | 1 per crew | Apply mortar to substrate | Maintain a consistent trowel angle to lock in a 3/8″ mortar bed thickness. |
| Thin-Set (Interior) | ANSI A118.15 compliant, latex-modified | 50-lb bag covers 40–50 sq. ft. | Bond panels to wall | Never allow unmodified thin-set over drywall assemblies. |
| Thin-Set (Exterior) | ASTM C1670 compliant, polymer-modified | 50-lb bag covers 40–50 sq. ft. | High-moisture installations | Essential for freeze-thaw resilience on exterior framing profiles. |
| Wet Tile Saw | Diamond blade, 7″ or 10″ | 1 per crew | Cut flat panels to size | Use a continuous-rim blade to eliminate ragged edge chipping. |
| Shims & Level | 1/16″ shims, 4-ft level | Assorted pack, 1 level | Maintain level courses | Snap a benchmark line at the second course line to manage bottom trims. |
| Corner Pieces | Pre-fabricated matching stone | Order per linear foot | Clean outside 90° wraps | Always spec factory corners; field-mitered seams look highly amateur. |
Prepare Substrate & Moisture Barrier
Substrate preparation is where 90% of structural failures are born. For exterior cladding, install a certified weather-resistant barrier (WRB) per ASTM C1670 directly over the plywood sheathing, then mechanically anchor 1/4″ cement board sheets with structural screws spaced every 6″ on center. Tape and float all joint transitions using fiberglass mesh tape and polymer thin-set.
For interior applications over gypsum: skip the external drainage plane layers, but you must completely skim-coat raw drywall surfaces with latex-modified thin-set prior to mounting panels. Without this defensive step, dry environmental heating cycles cause the drywall’s paper face to delaminate, presenting later as full panel separation. Ensure your backup framing backer structure maps to an L/720 deflection limit to securely offset masonry shear stress.
Layout Dry Run & Level Line
Never allow your masonry crew to begin stacking panels blindly straight from the floor trim line. Instead, execute a full floor dry run. Arrange your running ledger crates across a flat surface, mixing panels from separate crates to offset minor geological color play and map out a natural color blend. Mark the backs with chalk numbers and take a quick photo for your installers to eliminate layout surprises during final architectural walks.
Next, do not start your first physical course level with the soil or slab deflection. Snap your master level chalk line at the precise height of the second course. This guarantees that your upper rows remain perfectly parallel and laser-straight across expansive runs; the lowest foundation row can then be safely field-cut with the tile saw to absorb minor grading slants or uneven floor contours.
Set Panels: Butt Joints & Offsets
Here is where standard competitor installation guides from big-box retailers completely fail project managers. They tell you to loosely “stagger joints,” but fail to specify the exact offset required to break up visible repeating grids. **That rigid dimension is a minimum of 6 inches**, measured vertically between any adjacent panel seams. If you step down to 4-inch increments, the human eye will immediately pick up the artificial geometric pattern on a high commercial wall. Forcing a 6-inch offset ensures the joint rhythm completely dissolves into a seamless masonry face.
To initiate setting, rake a uniform 3/8″ bed of ANSI-compliant modified mortar across the substrate using your 1/2″ square-notched trowel. Crucially, your crew must perform a **thorough back-butter coat** on the rear of each interlocking panel, laying down a flat 1/4″ skim layer. Our continuous factory compression trials show this dual-spreading method achieves a 95% total bond coverage matrix, compared to a weak 60% standard using single wall-side combing. Press the ledger unit firmly into the mortar bed with a sliding twist to break down trowel ridges, checking alignment gaps using 1/16″ shims.
When handling outer layout boundaries, mount your pre-fabricated corner pieces first, working outward with flat ledger cuts. Never attempt to manually miter exposed outer raw corners on site; field grinding is slow and looks highly amateurish compared to engineered corner interlocking. If panels slide or sag during initial compression steps, your mortar batch is running too wet—remix immediately with less water to maintain proper slump control.
Grouting, Cleaning & Sealing
Allow the complete panel assembly to cure completely undisturbed for a minimum 24-hour cycle before executing any joint detail work. Initiating grouting early prompts structural mortar shrinkage hairline cracks along panel seams. When dressing 1/8” to 1/4” gaps, work strictly with a professional **grout bag**—never strike joints with a wide rubber float, as cement smears will lodge inside natural stone recesses, demanding aggressive chemical cleaning later.
Wipe away any accidental face smears immediately with a damp sponge, changing water frequently to prevent a stubborn haze. For exterior building envelopes, allow 3 full dry days (72 hours) of curing before applying a premium, breathable penetrating siloxane-based sealer to block moisture gain. If sealing interior stone fireplace surrounds, verify your chemical on your sell sheet is zero-VOC and non-toxic to avoid hazardous off-gassing when the unit is under operational heat.
Common Mistakes & Inspection Checklist
To give your foremen a clear quality yardstick on the deck, enforce this quick Pre-Job Quality Control Checklist before and during panel staging:
- Is the underlying concrete or board substrate flat within 1/8″ over any 8 ft straightedge run? (If no, mud-skim flat first).
- Is an approved ASTM-grade weather-resistant barrier secured across all external framing configurations? (Yes/No).
- Has your crew accurately weighed mortar batches to protect slump limits and avoid stone sagging? (Yes/No).
- Are vertical seam lines checked every single course with a rigid 6-inch template offset gauge? (Mandatory to pass architectural punch-walks).
Conclusion
Following these installation specs—using a 1/2″ notched trowel, back-buttering each panel, and offsetting vertical seams by at least 6 inches—directly eliminates the top three causes of architect callbacks and bond failure. Your crew can execute this sequence with confidence, reducing rework and material waste to near zero.
To see how consistent color, pre-sorted panels, and edge-protected crating simplify your next project, review the product specs and request a sample from Top Source Stone’s ledger panel line.
Frequently Asked Questions
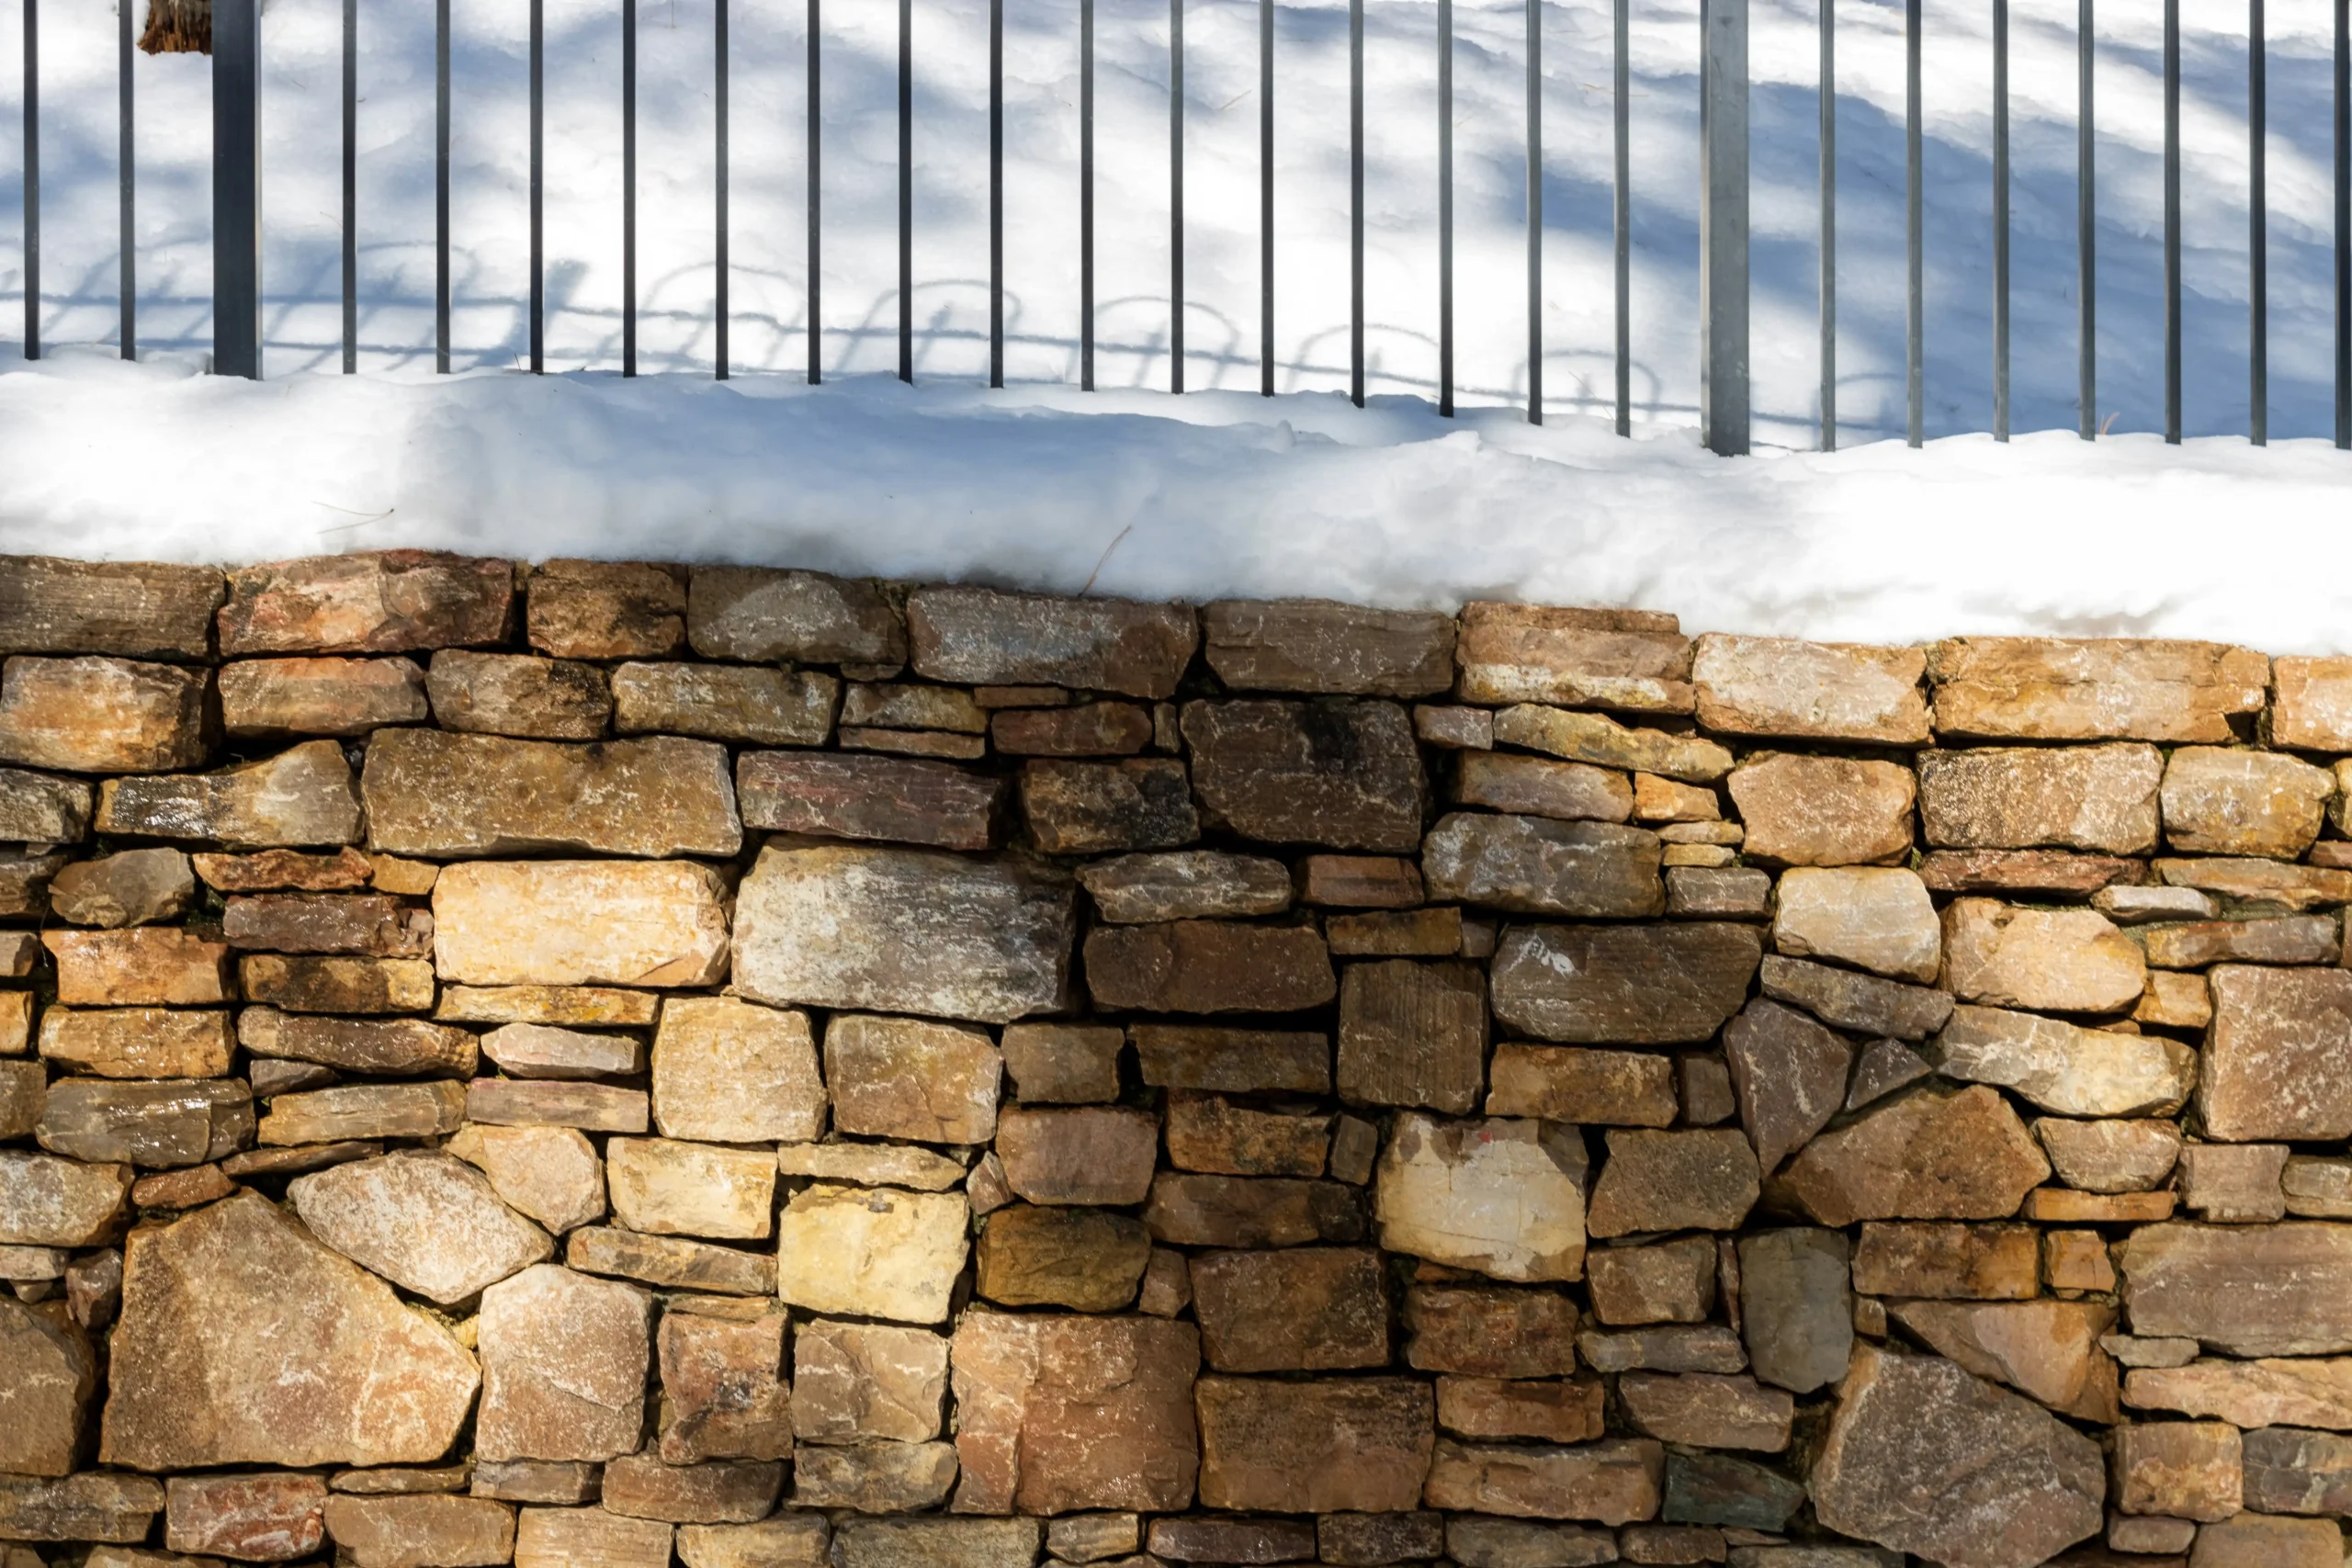
What is the difference between stacked stone and Ledgestone?
Stacked stone is a general term for layered stone veneer; ledgestone is a style with distinct horizontal ledges and a more uniform depth. Many manufacturers use the names interchangeably for panel systems, but ledgestone typically highlights more rugged, split-face profiles across extensive runs. Verify product specs to match the desired aesthetic.
How to install a stacked stone retaining wall?
For stacked stone panels on a retaining wall, you need a reinforced concrete or CMU substrate with drainage aggregate behind it. Apply back-buttering and offset vertical seams by 6 inches, but always consult a structural engineer for proper civil load limits and moisture drainage barriers. Confirm substrate capacity before installing.
How do you install Ledgestone?
Install ledgestone panels using back-buttering on each panel and a 1/2″ notched trowel over a clean, flat substrate. Offset vertical seams by at least 6 inches between courses to avoid repeating patterns. Use ANSI A118.15 thin-set for interior layouts and ASTM C1670 polymer formulations for exterior framing envelopes.
How to attach stacked stone to wall?
Attach stacked stone panels by applying a 1/2″ notched trowel of thin-set to the wall and back-buttering each panel. For exterior walls, install a water-resistant barrier behind cement board before attaching. Ensure substrate is clean and flat before attaching.
Do I need to seal a stacked stone?
Natural stacked stone should be sealed after installation to prevent staining and moisture damage, especially in kitchens or exterior cladding. Some ledger panels come pre-sealed, so check with your supplier before applying. Test sealer on a sample piece first to confirm appearance.
