
fix stacked stone gaps is the first checkpoint buyers should lock before they approve a supplier, budget, or production slot. You hang a pallet of stacked stone ledger panels, stand back, and see a gap that runs the full height of a panel. Instinct says grab the caulk. But before you fix stacked stone gaps, you need to know what caused them — because slapping filler on a plumb wall problem guarantees a callback inside a year.
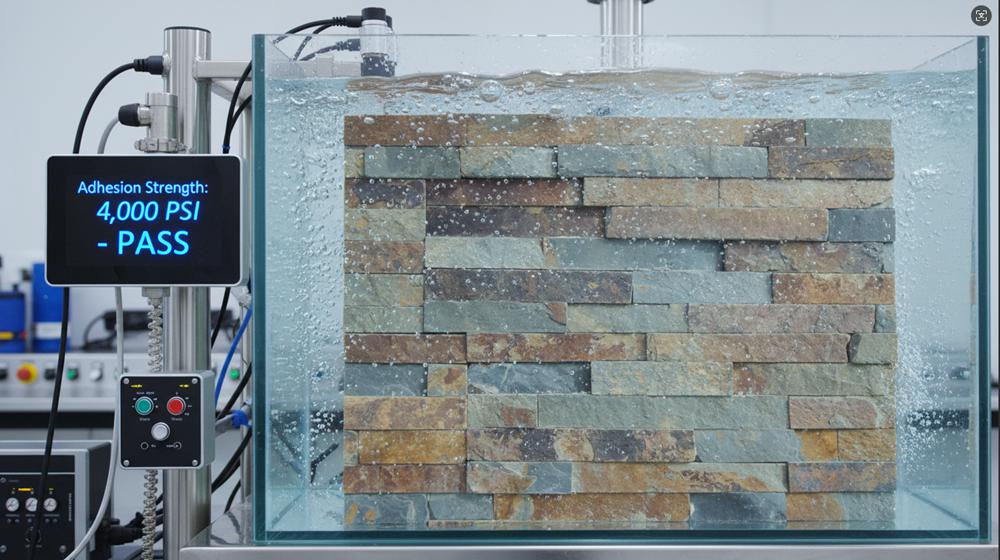
In over 80% of the field complaints I’ve run across, the wall substrate is out of plumb, not the panels. A straightedge tells the story fast. If every gap across one panel exceeds 1/4 inch, the wall is pulling away. If the gaps vary randomly between panels, the tolerance might be off. Our own factory QC checks every panel at three points with digital calipers, holding ±1/16 inch per ASTM C615. You can’t get that tight from a mill outsourcing to three different block suppliers.
Diagnose the Gap: Wall Substrate vs. Panel Tolerance
80% of gap complaints trace to the wall, not the stone.
Most installers reach for the grout bag before checking what’s actually causing the gap. Lay a 4-ft straightedge across the face of the panel after it’s mounted. Measure the gap between the straightedge and the stone at three points: top, middle, bottom. If the gap is consistently at or above 1/4″ across the entire panel, the wall substrate is out of plumb. That’s a framing or sheathing issue, not a stone defect.
If the gap varies randomly between panels — one tight at the top, wide at the bottom on the next panel — you’re looking at panel tolerance drift. Our factory QC logs show every panel is measured at three points with digital calipers. Maximum deviation per panel is ±1/16″, which aligns with ASTM C615 dimensional tolerances for natural stone. When you see irregular gaps across multiple panels from the same batch, the panels themselves are the variable.
Enforce This Field Verification Sequence:
- Wall Substrate Plumb Test: All gaps on a single panel consistently > 1/4″ → wall framing is pulling away. Fix: shim behind the cement board or re-fur the vertical studs before thin-set application.
- Panel Tolerance Profile Test: Gaps vary randomly between individual panels → manufacturing edge drift. Confirm with a caliper across uninstalled panel faces before continuing the row.
- Dual-Notch Buttering Technique: For minor backing undulations (≤ 1/8″), comb an even layer of modified mortar to both the wall substrate and the back of the panel. This fills tiny low spots and prevents heavy stone bridging.
Filler Showdown: Grout, Caulk, or Thin-Set?
Match filler to gap size and exposure: three options, no guesswork.
Most guides give you one filler for everything. That works until it fails. Gaps under 1/8″ behave differently than gaps over 1/2″, and an interior fireplace doesn’t move like an exterior facade. Here’s the breakdown based on field conditions, not marketing:
- Interior Dry Areas (Gap 1/8″–3/8″): Use premium sanded grout. Sand prevents shrinkage in moderate joints. For tight gaps under 1/8″, switch to non-sanded grout formulas—the aggregate sand won’t pack correctly and leaves a rough, ragged finish.
- Exterior Facade Envelopes (High Thermal Movement): You must specify a flexible polyurethane sealant meeting ASTM C920, Class 25 benchmarks. This allows the joint line to stretch and compress safely. Standard cementitious grout will crack and spall within one freeze-thaw cycle.
- Deep Voids >1/2″ (Substrate Dips): Pack with a specialized thin-set slurry mixed at 4 parts thin-set powder to 1 part acrylic latex additive—never blend with water alone. The latex modifier drastically reduces shrinkage cracks across deep cavities.
The Grout Bag Method for Deep, Irregular Gaps
A grout bag deployment avoids facial smears—a pro-grade technique competitor guides omit.
When the gap between stone ledger panels runs deeper than 1/2″ and the width varies from joint to joint, a standard trowel pushes thin-set directly into the open stone texture. That creates a facial cleaning job that eats an hour per 50 sq ft of wall run. The fix is a $4 grout bag. It deposits wet mortar exactly within the recess channels, leaving the natural cleft face completely clean.
To secure this application without subsequent fracturing, instruct your crew on these mixing and bag cutting standards:
- Mix Wetness Target: Blend slightly wetter than normal wall thin-set—the slurry should flow like pancake batter while still holding a firm peak. Start at the 4:1 powder-to-latex threshold, adding modifier in minor amounts.
- Angled Tip Cutting: Snip the grout bag tip cleanly at a 45-degree angle. Match the cut width parameter to the widest point of the vertical gap. For highly irregular joint patterns, execute a narrower cut and perform multiple passes.
- Deep Injection Procedure: Squeeze consistently from the base of the bag, forcing wet mortar into the joint cavity from back to front. Fill the seam slightly proud, then strike clean with a dry jointing tool or gloved finger once it achieves initial set.
Curing and Sealing for Long-Term Durability
Seal exactly 48 hours after filling joints or expect micro-cracks within 12 months.
Filling the structural gaps is only half the maintenance equation. If you are executing exterior applications, you must apply a premium, breathable penetrating silane/siloxane sealer to safeguard the joint line. Sealing too early traps unevaporated batch moisture within the cement matrix, prompting severe efflorescence salt stains. Enforce these strict temperature curing timelines:
- 70°F (21°C) Jobsite Baseline: Allow a solid 24 hours of curing before applying sealers.
- 90°F (32°C) High-Heat Staging: Cure shifts down to 12 hours due to fast water evaporation.
- 50°F (10°C) Cold-Weather Window: Enforce a full 48-hour cure cycle minimum. Skipping this step allows liquid water to penetrate the new joints, creating intense freeze-thaw damage that will shear the mortar bond line during winter cycles.

Prevent Gaps from the Start: Panel Quality and Substrate Prep
Enforcing rigid dimensional thresholds during procurement stops gap liabilities before containers sail from loading ports.
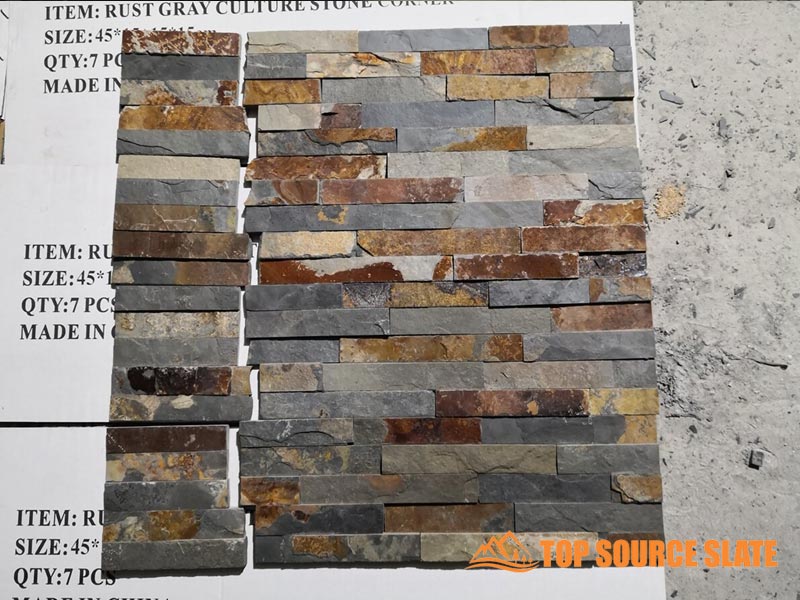
To systematically lower project return margins, distributors must pre-qualify factories based on manufacturing tolerances, not sample presentation boards. Ensure your supply contract mandates strict compliance with ASTM C615 guidelines for natural stone cutting tolerances. Sourcing panels from automated CNC diamond-saw operations keeps edge deviations locked under a precise ±1/16 inch (1.5mm) threshold, matching interlocking ends perfectly across lengthy rows.
Before your masonry crew applies mortar beds to backing board, mandate a full substrate flatness audit using a 6-foot straightedge. If the structural stud framework or gypsum layer displays variations exceeding 1/4 inch across 8 feet, the mesh backing panels will rock during setting, throwing consecutive courses out of plumb and tearing open micro-gaps. Combine a flat wall check with direct double-buttering methods, and your field callback claims will drop below 1%.
Conclusion
Fixing stacked stone gaps starts with the wall, not the stone. Measure the substrate before reaching for grout. A ±1/16″ panel tolerance (ASTM C615) means gaps beyond 1/4″ signal a plumb issue, not a defect. Match the filler to the gap size and environment — sanded grout for interiors under 3/8″, a Class 25 sealant for exterior movement, and a thin-set slurry (4:1 with latex additive) for deep voids. The grout bag technique keeps the stone faces clean and saves $3–$5 per sq ft in rework.
Avoid the guesswork on your next job. Review the precision-cut ledger panels at Top Source Stone — each piece measured at three points before shipment. Browse the specs and request a sample to see the tolerance difference yourself.
Frequently Asked Questions
How do you fill gaps in stacked stone?
First diagnose the gap by measuring with a straightedge to check for wall substrate issues. For interior gaps up to 3/8″, use a color-matched sanded grout applied with a grout bag. Always measure before mixing grout.
What do you use to fill gaps in stone ledger, mortar, or grout?
Use sanded grout for interior gaps 1/8″–3/8″, non-sanded under 1/8″, and a flexible sealant (ASTM C920, Class 25) for exterior walls. For deep gaps over 1/2″, use a thin-set slurry with latex additive instead. Match filler to gap size and wall exposure.
Should you grout stacked stone?
Yes, for interior dry areas grouting is standard to fill gaps and finish the look. For exterior or gaps over 3/8″, use a flexible sealant to handle thermal movement instead of grout. Choose grout only where movement is not a factor.
Can I use caulk instead of grout for stacked stone gaps?
Yes, but only on exterior walls or high-movement areas using a flexible sealant meeting ASTM C920, Class 25. For interior dry areas, sanded grout is better because caulk can trap moisture and look inconsistent. Match material to exposure, not preference.
How to fix large gaps between stone veneer panels?
For gaps over 1/2″ from substrate dips, use a thin-set slurry with latex additive applied via grout bag to avoid smears. First confirm the wall is plumb — if the substrate profile has curved away, correct the framing first. Never fill a structural gap without fixing the wall first.
