

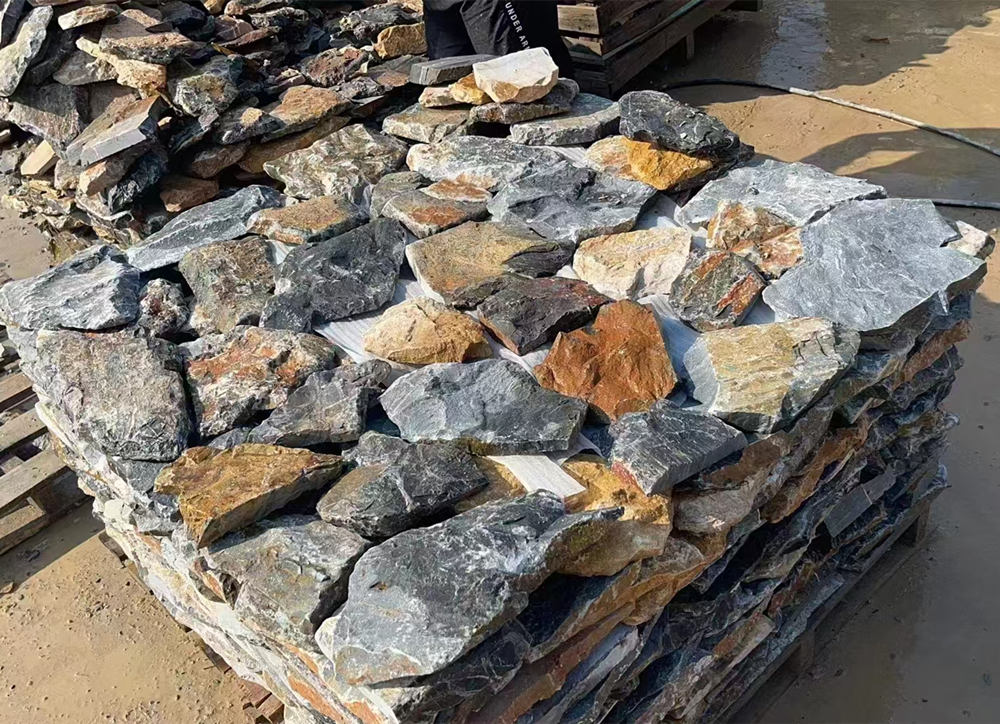
Designing high-performance fireplace surrounds requires a balance between architectural aesthetics and strict adherence to fire safety codes. Using inferior materials or improper installation techniques in these high-heat zones creates significant liability, ranging from structural degradation to serious fire hazards. For contractors and property owners, the choice of surfacing material often determines whether a project meets long-term safety standards or becomes a costly maintenance burden.
This guide establishes a technical framework for upgrading vertical fireplace surfaces using natural thin stone veneer. We outline the specific steps for prepping cement backer boards, managing transitions around mantels, and retrofitting existing brick structures. You will find detailed specifications on heat resistance, substrate preparation, and the necessary sealing protocols to ensure the installation withstands soot exposure and thermal cycling.
Heat Resistance: Why Real Stone is Safe for Fireplaces
Natural thin stone veneer offers an inorganic, non-combustible surfacing solution that maintains structural integrity and color permanence under the extreme thermal cycling of residential fire chambers.
Non-Combustible Material Properties
Top Source Stone products consist of 100% quarried minerals like quartzite and slate, which inherently lack the polymers or flammable binders found in wood or certain faux alternatives. Unlike manufactured “cultured” stone that uses concrete and chemical pigments, natural stone does not ignite, smoke, or contribute to flame spread. This characteristic allows it to meet strict international building codes for non-combustible finishes required in direct proximity to firebox openings.
| Performance Metric | Natural Thin Stone (TSS) | Manufactured Stone |
|---|---|---|
| Combustibility | Non-Combustible (100% Mineral) | Combustible binders common |
| Thermal Stability | High-Density Quartzite Integrity | Risk of cracking/warping |
| Off-Gassing | Zero VOC/Zero Odor | Potential chemical odors |
Thermal Stability and Structural Integrity
High-density stones, particularly our blue quartzite and granite selections, demonstrate exceptional thermal mass. This allows the material to absorb and dissipate heat slowly, preventing the underlying wall assembly from reaching critical temperatures. Because we provide individually sawn-back stones rather than pre-glued panels, each piece expands and contracts independently during thermal cycling. This avoids the systemic warping or bond failure often seen in panelized systems where dissimilar materials are bonded with lower-grade resins.
Color Permanence Under High Heat
Artificial stone relies on surface-level iron oxide pigments that can yellow, bake off, or fade when exposed to consistent infrared radiation from a wood stove or gas insert. Natural thin stone maintains its visual identity because the color is a permanent mineral feature found throughout the entire 25–40mm thickness. Whether installing rustic irregular stones or precision-cut ledger pieces, the finish remains identical over decades of use. This zero-repeat natural variation ensures that the focal point of the interior stays pristine without the chalking or surface degradation associated with concrete-based facings.
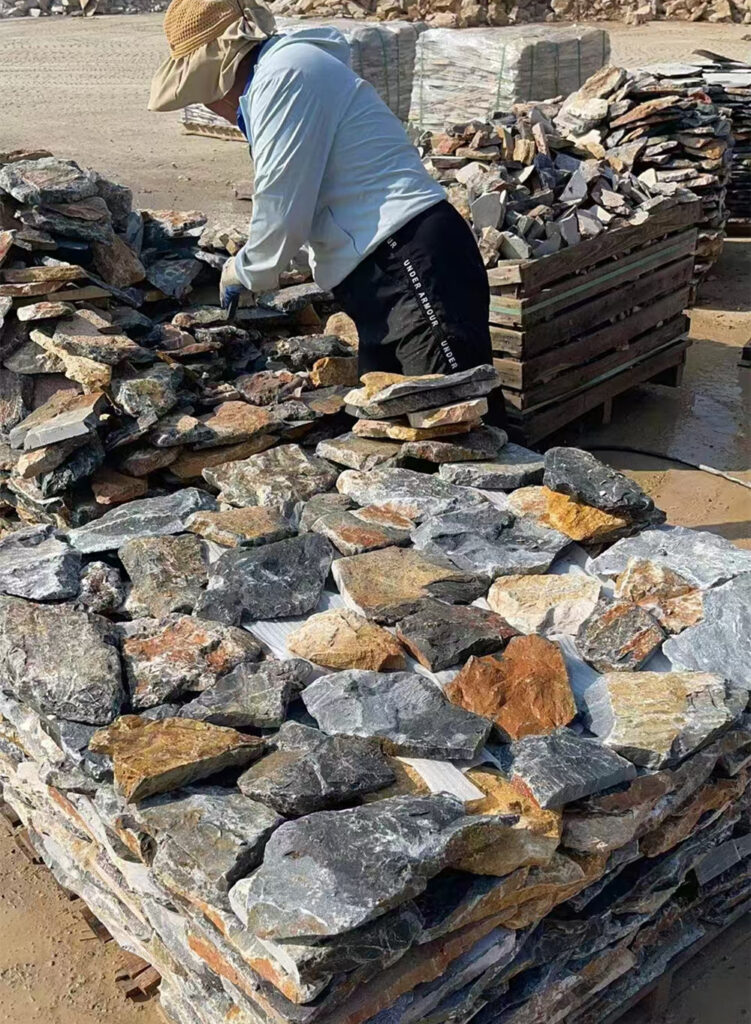
Preparing Cement Backer Board for Interior Applications
A rigid, non-combustible substrate is the non-negotiable foundation for natural stone veneer, ensuring the installation survives years of thermal expansion without bond failure.
Structural integrity for a fireplace surround starts inside the wall. When working with natural stone from Top Source Stone, the weight—averaging 65kg/m²—requires a substrate that can handle vertical shear without flexing. We recommend verifying that wall studs are spaced exactly 16 inches on center. Any increased spacing leads to board deflection, which eventually manifests as hairline cracks in the mortar joints or loose individual stones.
| Substrate Parameter | Standard Requirement | Stone Veneer Application |
|---|---|---|
| Material Type | Non-combustible Cement Board | Mandatory across entire vertical installation zone |
| Fastener Spacing | 6 to 8 inches | Supports 25–40mm stone thickness secure bond |
| Stud Spacing | 16″ O.C. Max | Prevents deflection under 65kg/m² load |
Substrate Stability and Framing Requirements
Installers must confirm the substrate is plumb and level before the first stone touches the wall. Our individually sawn-back stones rely on a flat surface to maintain their “Full-Depth Visual Integrity.” Ensure all framing meets 2026 building codes for non-combustible assemblies near heat sources, especially in high-heat zones around wood stoves where clearances are critical.
Board Installation and Fastening Techniques
Fastening determines the long-term bond strength of the entire system. Use corrosion-resistant screws designed for cement backer boards, driven flush but not through the surface. Staggering joints between the backer board and the underlying framing increases the shear strength of the wall, creating a unified structure that resists the stresses of thermal cycling.
- Leave a 1/8-inch gap between board edges to allow for structural expansion.
- Use alkaline-resistant fasteners to prevent chemical degradation from the mortar.
- Terminate the cement board at floor transitions to avoid moisture wicking.
Joint Treatment and Surface Priming
Properly sealing the seams creates a monolithic surface. Apply alkali-resistant fiberglass mesh tape over all connections and embed it with a thin layer of polymer-modified mortar. This prevents localized cracking that can telegraph through the stone. Finally, clean the board surface of all dust and cutting debris to ensure the mortar achieves a permanent chemical and mechanical bond with the stone’s sawn back.
Premium Loose Stone Veneer for Architectural Excellence

Planning the Layout Around the Mantel and Firebox
Precision in fireplace layout balances critical safety clearances with the aesthetic demand for a bespoke random-lay pattern that conceals internal wall structures.
Establishing Noncombustible Clearances and Safety Zones
Safety serves as the primary driver for any fireplace layout. You must verify local building codes regarding the minimum vertical and horizontal distances between the firebox opening and combustible mantels. While Top Source Stone thin stone veneer is 100% natural and noncombustible, the framing and mantel materials often are not. Real stone provides a significant advantage here, as its inherent heat resistance allows for tighter surrounds compared to manufactured alternatives, effectively shielding the substrate from thermal cycling.
When planning the upper section of the feature wall, confirm the mantel placement to ensure proper heat deflection. This is particularly important if the design includes wall-mounted electronics or artwork above the firebox. A well-positioned stone header can act as a thermal buffer, protecting sensitive technology from the rising heat generated by high-efficiency gas or wood-burning inserts.
| Layout Factor | Technical Specification | Installation Benefit |
|---|---|---|
| Thin Stone Thickness | 25mm – 40mm | Maintains flush profile with standard mantel depths. |
| Backing Finish | 100% Sawn-Back | Reduces on-site labor by 30% for faster fireplace surfacing. |
| Corner Execution | Matching L-Shaped Corners | Provides full-depth visual integrity around the firebox. |
Integrating Authentic Masonry Corner Wraps
Achieving a seamless transition around the firebox return requires the strategic use of L-shaped corner pieces. Unlike flat panels that reveal a thin seam at the edge, these matching corners create the appearance of full-depth structural stone blocks. Plan your layout by starting from these outside corners and working inward. This ensures that the most visible edges of the fireplace promote a massive, heavy-duty look that is indistinguishable from traditional masonry.
- Utilize individually sawn-back pieces to ensure maximum surface contact with the cement board.
- Dry-lay your stones on the floor before installation to balance the zero-repeat natural variations.
- Avoid vertical stack-bond patterns by staggering joints at least three inches in every course.
Coordinating Symmetry with Built-ins and Media
Modern fireplace designs frequently incorporate recessed TV niches or custom cabinetry. This requires precise measurements for stone transitions to ensure edges meet flush with cabinet trim. Align the center of your stone layout with the center of the firebox to maintain visual balance across the feature wall. If the design includes integrated lighting or electrical outlets, ensure all wiring is secured behind the noncombustible cement backer board before the first stone is set.
Sizing the Surround for Visual Proportion
The scale of the stone veneer should complement both the room dimensions and the firebox itself. For a rugged, mountain aesthetic, a random-lay pattern with irregular textures works best, while a tighter, linear layout suits modern, minimalist interiors. Adjusting the height of the stone to reach the ceiling often creates an illusion of greater room height. Ensure the 25–40mm thickness of the stone aligns with your mantel’s projection to prevent awkward recessed gaps or overhangs that expose the sawn back of the stone.
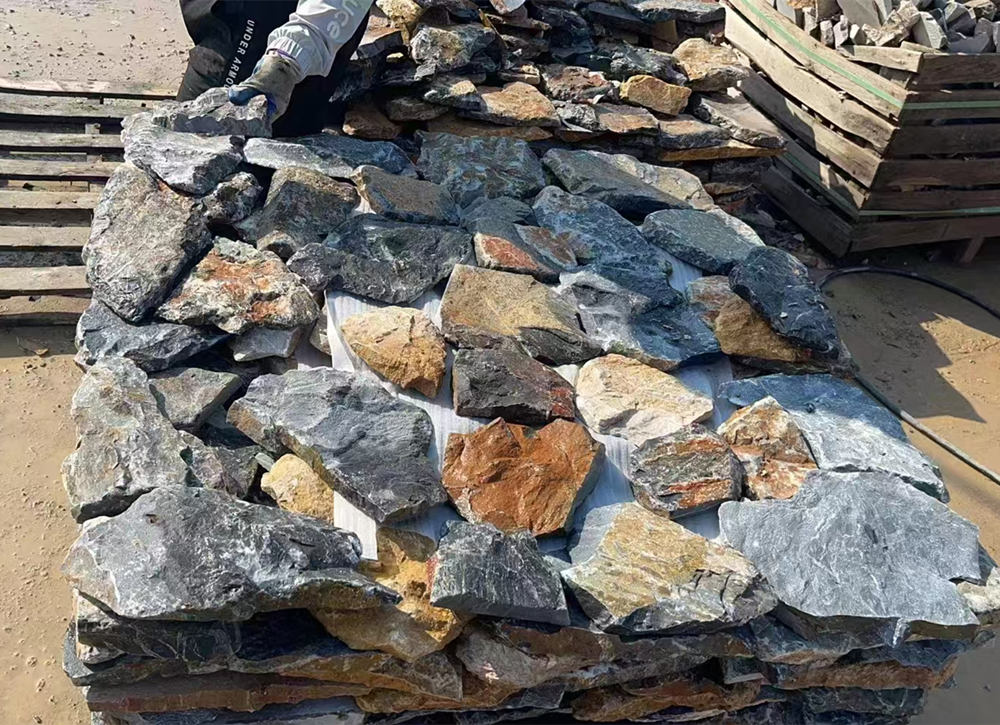
Applying Thin Stone Veneer Over Outdated Brick Fireplaces
Refacing existing masonry with 100% natural thin stone veneer eliminates the need for structural demolition while providing a high-density, heat-resistant finish that far outlasts synthetic alternatives.
Assessing the Integrity of the Existing Brick Structure
A successful fireplace renovation begins with a rigorous inspection of the original masonry. Technicians must verify that the brick can support the weight of new natural stone, which typically averages 65kg/m². Inspect the surface for loose mortar joints, significant cracks, or crumbling “spalling” brick that could compromise the bond. Years of use often leave a layer of soot, wax, or dust; use a wire brush and a heavy-duty degreasing cleaner to return the brick to a porous, bondable state.
| Substrate Condition | Preparation Requirement | Adhesion Method |
|---|---|---|
| Raw, Unpainted Brick | Degrease and wire brush | Direct-applied polymer mortar |
| Painted or Sealed Brick | Sandblast or install metal lath | Mechanical bond via scratch coat |
| Damaged/Crumbling Brick | Repair mortar and stabilize | Cement backer board overlay |
If we identify painted brick, we strictly advise against direct mortar application. The paint acts as a bond-breaker, leading to eventual delamination under thermal cycling. In these cases, we recommend fastening a diamond metal lath to the brick to provide a mechanical key for the scratch coat, ensuring a permanent connection between the old structure and the new stone facing.
Selecting the Right Natural Stone Series for Fireplace Refacing
The aesthetic transformation depends on selecting a stone profile that complements the interior architecture. Our product lines offer distinct textures, from the rugged deep shadows of the Rough Series to the minimalist, clean lines found in our Marble and Slate series. Unlike prefabricated panels that often show repetitive “seam” lines, our loose stone veneer allows for a bespoke random-lay pattern that mimics traditional full-thickness masonry.
- Use authentic masonry corner wraps (L-shaped pieces) to hide the thickness of the veneer at the fireplace edges.
- Prioritize high-density quartzite or granite for maximum resistance to soot staining and thermal shock.
- Match stone textures to the room’s scale; larger random-fieldstone patterns suit high-ceiling great rooms, while slim-profile ledgestone fits modern, low-profile fireboxes.
Installation Techniques for a Flawless Finish
Modern installation utilizes high-performance polymer-modified thin-set mortars specifically engineered for vertical stone applications. This material provides the “grab” necessary to hold stones in place without sagging. We utilize an individually sawn-back system where every piece is precision-cut to a flat bonding surface. This reduces on-site labor by providing a consistent 25–40mm thickness, allowing the installer to focus on the artistic layout rather than shimming uneven pieces.
Always work from the bottom up. Start by installing the corner pieces first, as these dictate the level lines for the field stone. By alternating the long and short legs of the L-shaped corners, we achieve full-depth visual integrity, making it impossible to distinguish the veneer from a structural stone wall. For a clean, “dry-stack” appearance, tightly fit the stones together and use a grout bag only to fill deep voids where necessary for structural stability.
Meeting Safety Standards and Building Codes
Compliance with local fire safety regulations is non-negotiable. Natural stone is inherently non-combustible, representing a significantly safer choice than synthetic “faux” stone products that may off-gas or discolor when exposed to high temperatures. However, safety depends on the entire assembly. Maintain specific clearances between the firebox opening and the stone veneer as dictated by the fireplace manufacturer’s specifications.
Building codes increasingly emphasize materials that tolerate repeated thermal cycling. Our 100% natural stone maintains its color fastness and structural integrity even through thousands of heating and cooling cycles. For wood-burning applications, we recommend using Type S mortar in the scratch coat for its higher compressive strength and superior heat resistance, ensuring the facade remains secure for decades of use.
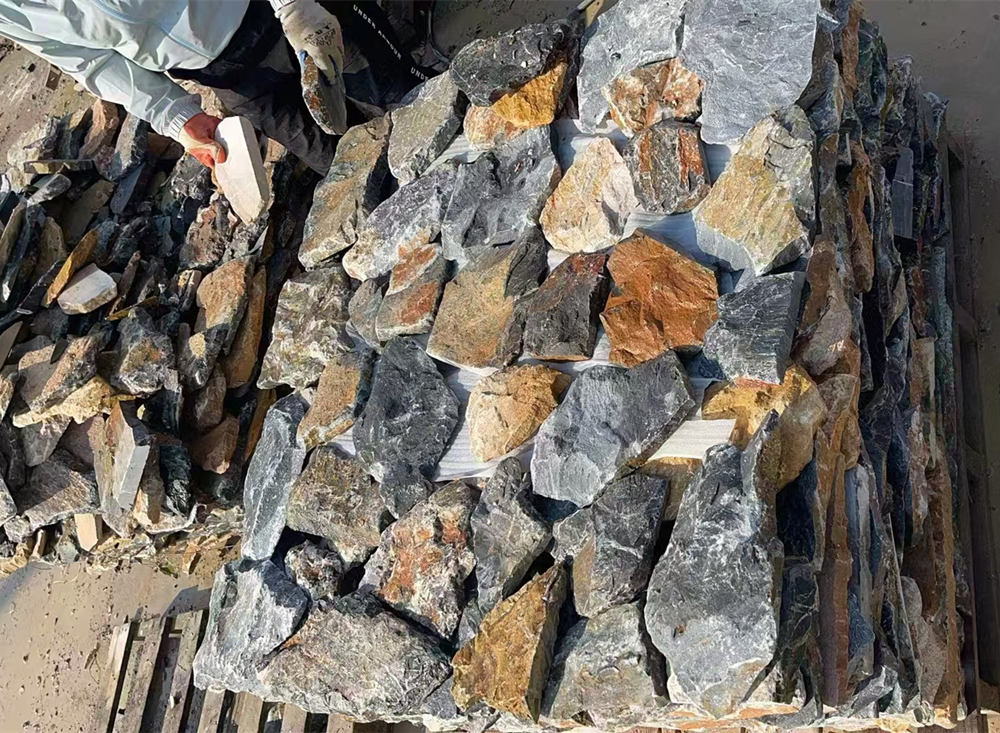
Sealing the Stone to Protect Against Soot and Smoke
Applying a breathable penetrating sealer to natural thin stone veneer is the most effective way to prevent permanent carbon carbonization and oil-based soot staining on fireplace surrounds.
Natural stone is inherently porous. When exposed to the thermal cycling of a fireplace, smoke and microscopic soot particles can become embedded deep within the mineral matrix. Without a protective barrier, these deposits are nearly impossible to remove without aggressive chemical etching. Professional installers prioritize sealing to ensure the long-term visual integrity of high-value materials like quartzite and granite.
Selecting Breathable Penetrating Sealers
We recommend high-quality penetrating sealers over topical coatings. Topical sealers create a plastic-like film that can peel or cloud when exposed to heat. In contrast, penetrating sealers sit below the surface, allowing the stone to breathe while repelling contaminants. For indoor residential applications, water-based, low-VOC formulas are essential to maintain air quality without the off-gassing associated with solvent-based products.
| Sealer Characteristic | Penetrating (Silane/Siloxane) | Topical (Acrylic/Film) |
|---|---|---|
| Heat Tolerance | High – Won’t yellow or peel | Low – Prone to blistering |
| Appearance | Natural, invisible matte finish | Glossy or “wet” look |
| Maintenance | Easier to spot-clean soot | Traps moisture; can cloud stone |
Application Techniques for Maximum Stain Resistance
Timing is critical for a successful seal. We advise waiting 48 to 72 hours after installation before application to ensure the mortar has fully cured and all moisture has escaped. If the stone is sealed too early, trapped moisture can cause efflorescence—a white, powdery salt deposit—to form under the sealer.
- Use a soft brush or lint-free cloth to work the liquid into the deep crevices of rough-textured stones.
- Apply two thin coats rather than one heavy layer to prevent pooling and uneven drying.
- Wipe away any excess sealer that hasn’t absorbed within 10 minutes to avoid a sticky residue.
Long-term Maintenance and Soot Removal
A sealed fireplace is not maintenance-free, but it is significantly easier to manage. Regular care preserves the aesthetic of the stone and prevents the sealer from breaking down prematurely. We always recommend using pH-neutral cleaners specifically formulated for natural stone. Harsh household chemicals like vinegar or bleach will etch the stone surface and strip the protective barrier.
- Vacuum loose dust and soot with a soft brush attachment before applying liquid cleaners.
- Reapply the penetrating sealer every 3 to 5 years, depending on how frequently the fireplace is used.
- Address greasy soot buildup immediately with a stone-safe degreaser to prevent oil migration.
Conclusion
Upgrading a fireplace with natural thin stone veneer combines high-temperature safety with the authentic aesthetic of a bespoke random-lay pattern. Following technical protocols for substrate preparation and mortar selection ensures the installation maintains its structural integrity against soot and heat. Using individually sawn-back stones provides a flat bonding surface that secures a professional, long-lasting finish for any interior feature wall.
Review your current fireplace substrate to determine if a cement backer board or wire lath transition is necessary for your specific project. You can also explore our technical specifications or request a sample to see how our high-density quartzite and sandstone materials perform in residential applications.
Frequently Asked Questions
Is natural thin stone veneer heat resistant?
Yes, natural thin stone veneer possesses inherent heat resistance and is non-combustible. It is specifically valued for its long-term structural integrity and its ability to withstand repeated thermal cycling around fireboxes and stoves without warping, off-gassing, or discoloration.
Can I put stone veneer directly over drywall on a fireplace?
Installing stone veneer directly over standard drywall is not recommended for fireplace applications. For a professional, code-compliant installation, you should remove the drywall and install a cement backer board or apply a metal lath and scratch coat. This ensures the substrate can support the weight of the stone and provides a fire-rated surface for the mortar to bond effectively.
How to clean soot off thin stone veneer?
To clean soot from stone veneer, begin with a dry vacuum or soft-bristle brush to remove loose particles. Follow this with a solution of warm water and a pH-neutral cleaner or a mild dish soap. For stubborn stains, a mixture of baking soda and water applied as a paste can be used; avoid acidic cleaners or wire brushes, as these can damage the natural finish of the stone and mortar joints.
What mortar to use for a stone veneer fireplace?
For a fireplace installation, you should use a high-bond Polymer-Modified Veneer Mortar (PMVM) that meets or exceeds ANSI A118.4 or A118.15 standards. These mortars are specifically engineered to handle the vertical weight of the stone and the thermal expansion caused by the heat of the fireplace, ensuring a permanent bond.
Can you put thin stone veneer around a wood stove?
Yes, natural thin stone veneer is an excellent choice for wood stove surrounds due to its non-combustibility and superior thermal mass. It safely tolerates the high temperatures generated by wood-burning units and provides a durable, heat-resistant barrier that protects the underlying structure while meeting safety standards for clearances.
